
Lesson2: Initial Conditions#
Before we look at the InitialConditions operation, let us just notice
that when the model is loaded, the segments of the model are positioned
in space according to their definition in terms of the r0 and Axes0
properties in each segment’s definition.
These are called the load-time positions.
The figure below shows an attempt to position the forearm and upper arm correctly at load time. While this is beneficial, perfect positioning isn’t necessary. In complex models, segments and muscles may appear disorganized at load time. To view the model’s correct assembly for the first time step, use the InitialConditions operation.
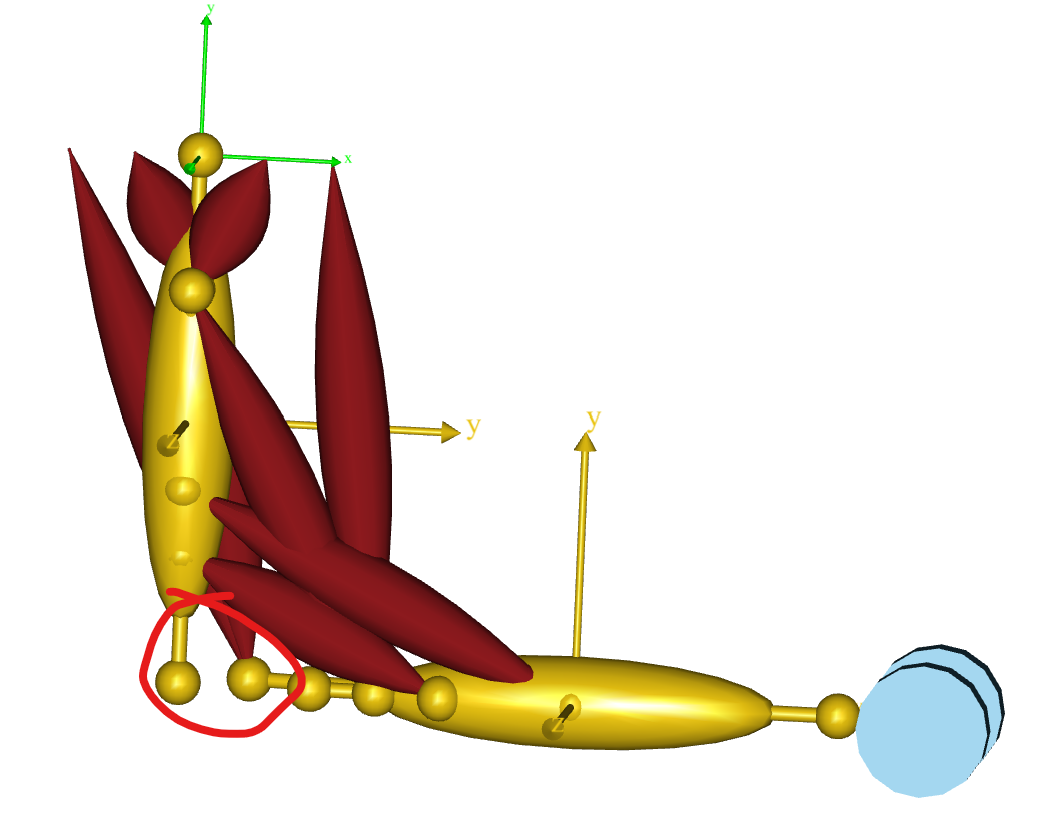
Fig. 2 The load-time positions of segments in a simple arm model. Notice that the forearm and upper arm do not meet correctly at the elbow joint.*#
When you run the InitialConditions operation, it will attempt to put the
model in the position it has at time = tStart. This may or may not be
possible, and in the development stages of a model, when the joints and
drivers are not yet fully defined, it is definitely not possible, and
this is the reason why the system does not run InitialConditions automatically when you
load the model.
In our toy “amr2d” model running the InitialConditions operation produces a
correctly assembled arm:
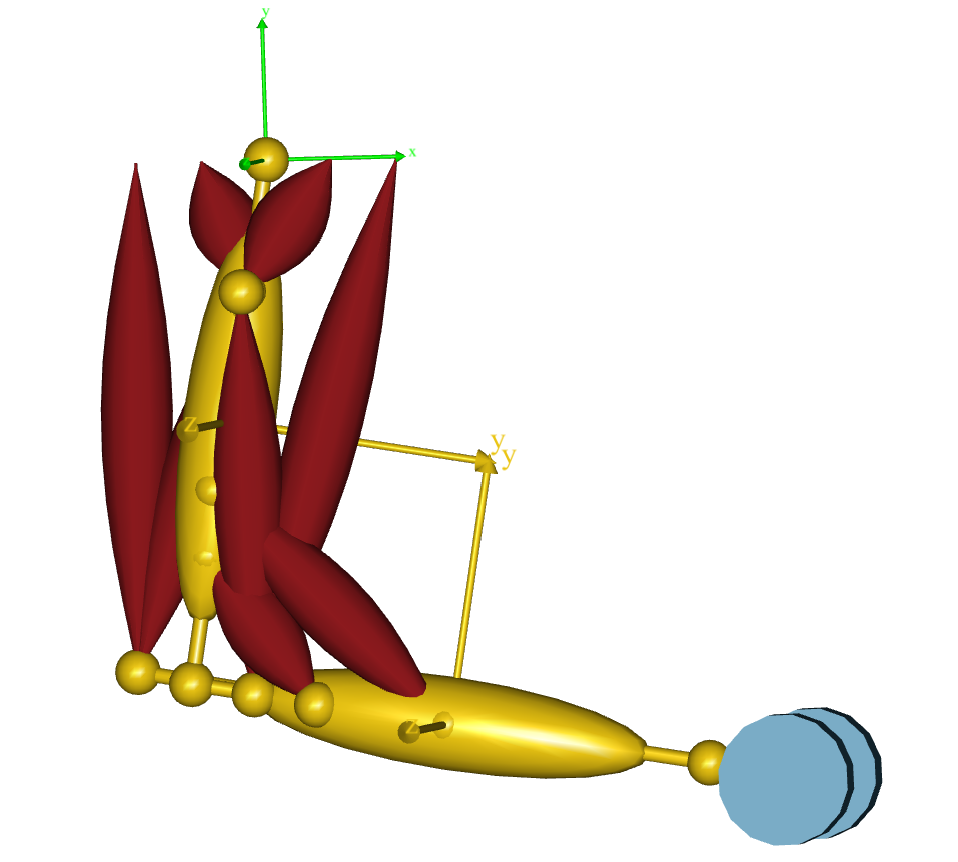
Fig. 3 The arm correctly assembled at the elbow by SetInitialConditions.#
To correctly connect the model at the joints, a kinematic analysis is necessary. This means the model must be kinematically determinate, with the right number and relationship of joints and drivers. Achieving this balance may take several iterations during model development. During these iterations, you can load the model to visualize it. This is why the loading the model simply positions the segments where the user placed them.
Instead of running the InitialConditions operation outright, you can step through it to understand its workings. Do this by clicking the “Step” button, not the “Run” button.
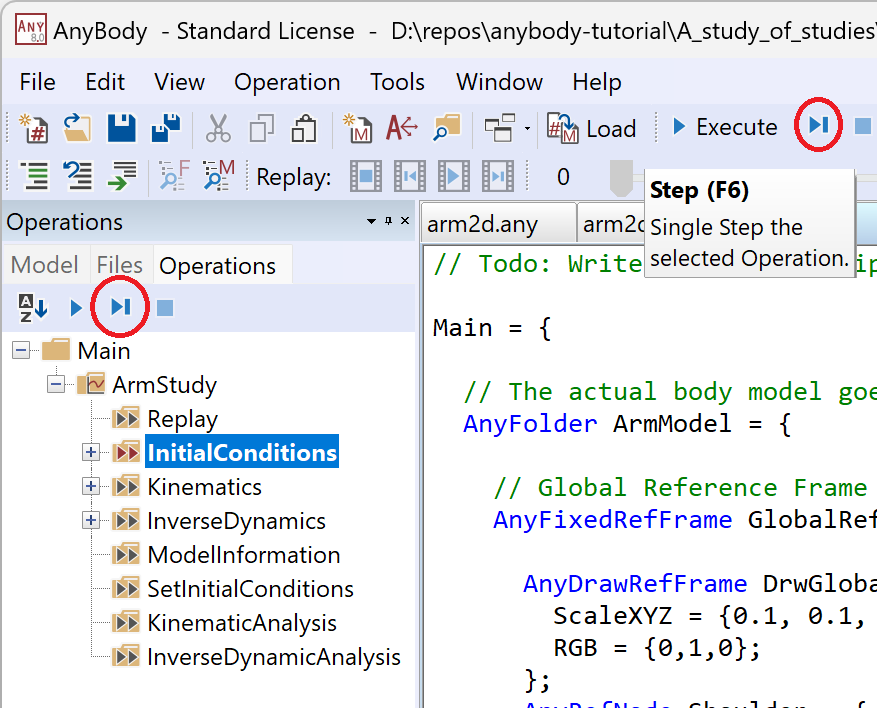
Fig. 4 Picking the step button.#
The first step resets the model to its initial load-time conditions, useful for identifying kinematic issues. The second step positions the segments according to the joints. The third step, though not visibly impactful in this simple model, positions muscles wrapping over surfaces.
Consider the InitialConditions study as the first step of a kinematic analysis, which we’ll cover in the next lesson..