Creating videos
In this post, I will show a new AnyScript template to create awesome videos of your musculoskeletal simulations with a single click.
Notice: You can now find the template directly in the AMMR. Include it like this:
#include "<ANYBODY_PATH_MODELUTILS>/Video/CameraClassTemplate.any"Previously, I often spent hours creating videos for presentations, etc.. Now it takes me 10 minutes. Besides being easy to use the plugin also supports somewhat complicated setups where the camera follows the particular parts of the model or moves around the scene.
The Manual way
Before we talk about the plugin, let me just show how to create videos the normal way.
The toolbar of “Model View” window in The AnyBody Modeling System has a small record button. It doesn’t record a video directly, but saves every frame as individual images.
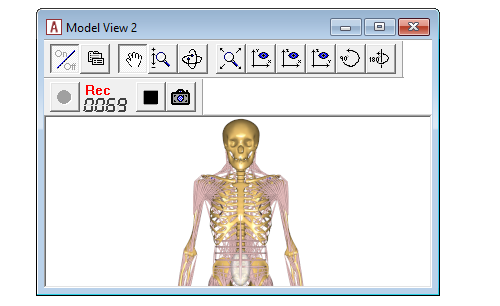
Once you have all the images, you need to convert them into a video.
VideoMach
There good programs for doing this. The easiest solution is probably VideoMach which has a nice graphical user interface. Unfortuantly, the free version adds small watermark to the start of your videos.
FFmpeg
An even better alternative is FFmpeg. It is purely command line based, so it may not be for everyone. But it is free, open source, and insanely powerful. It is also easy to use if you remember the syntax.
Imagine we saved some images from you simulation (named model_0000.png). To the convert those files to a video run the following
command in the same folder as the files:
ffmpeg.exe -r 20 -i "model_%04d.png" -c:v libxvid -b:v 8000k -vf "fps=30,format=yuv420p" out.mp4
The -r parameter determines the input framerate. So you can change that value to make the
video run faster or slower.
Notice! Check the FFmpeg documentation for what the different mean.
AnyScript plugin to create Videos
Once you have created a few videos the standard way, you realize that the biggest issues are reproducibility and the manual workflow involved. Preparing the model, setting the camera angle and framing the scene. These are things which I always end up doing multiple times before I get the result I want. And it takes forever.
There are ways we can automate some of this with AnyScript classes such as
AnyCameraLookAt and AnyCamRecorder. You can even create videos where the
camera follows certain parts of your model or move around your model. All very
nice. But it is also takes time to configure.
So when I truly needed an awesome video, for example for a conference, I never have the time. The consequence has been that I make far fewer videos of my simulations than what I would like.
Video Plugin class
To overcome all these issues I wrote a small plugin to create videos from your
models with a single click. It is an AnyScript class_template which can be
included into any model. It only takes a few lines of code to configure.
It is hosted on GitHub, where you can download the code..
Usage
The plugin is an AnyScript class_template. It must be imported at the beginning of your model like this:
// Include the Camera template class (somewhere before first Main)
#include "Path/to/Video_Camera/CameraClassTemplate.any"
Next we can use the Class. Just add the following 10 lines of code anywhere within Main = {...};
  VideoLookAtCamera  MyCam (UP_DIRECTION = y) =
  {
       CameraLookAtPoint = Main.MyModel.Femur.Knee.r;
       CameraFieldOfView  = 1;
       CameraDirection  = {1, 1, -1};
       BackgroundColor = {1, 1, 1};
       VideoInputFrameRate  = 10;
       VideoResolution = {1920, 1080};
       Analysis = {
          AnyOperation &ref = Main.MyStudy.Kinematics;
       };
  };
The UP_DIRECTION = y argument defines how the camera is rotated. The meaning of the the different settings are summerized below:
| Member name | Type | Description |
|---|---|---|
| CameraLookAtPoint | AnyVec3 | The point the camera focus on. This can be fixed point or some moving point (r) on the model. |
| CameraFieldOfView | AnyFloat | The vertical field of view in meters at the LookAtPoint. |
| CameraDirection | AnyVec3 | The direction which the camera is placed. In global coordinate with respect to the LookAtPoint. This can also be a time varying vector. |
| BackgroundColor | AnyVec3 | The back ground color of the scene |
| VideoResolution | AnyIntArray | Resolution of the output video in {Hight,Width} |
| VideoInputFrameRate | AnyInt | Determines the speed of the video. Setting it to nStep/(tEnd-tStart) make the video run in real time. |
| Analysis | AnyOperationSequence | Add operations which should be part of the video in this folder |
The Class also supports setting the video codec, video bit rate, video name, and more. See the full documentation for a complete list of options.
Once added, some new operations will appear in the model tree.
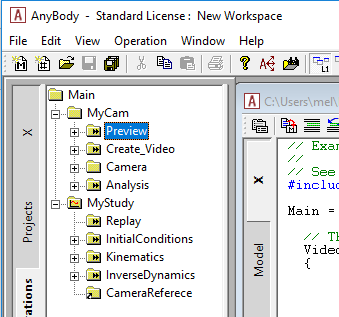
Previewing the camera
The class does not record what the ModelView shows. Instead the camera view is
configured programmatically. The class members CameraLookAtPoint,
CameraDirection, and CameraFieldOfView define what the camera records. This
is really nice since it allows us to get consistent videos.
To get a preview of what the camera sees, select and run the Preview
operation. It will collect a single frame and launch the Windows image viewer.
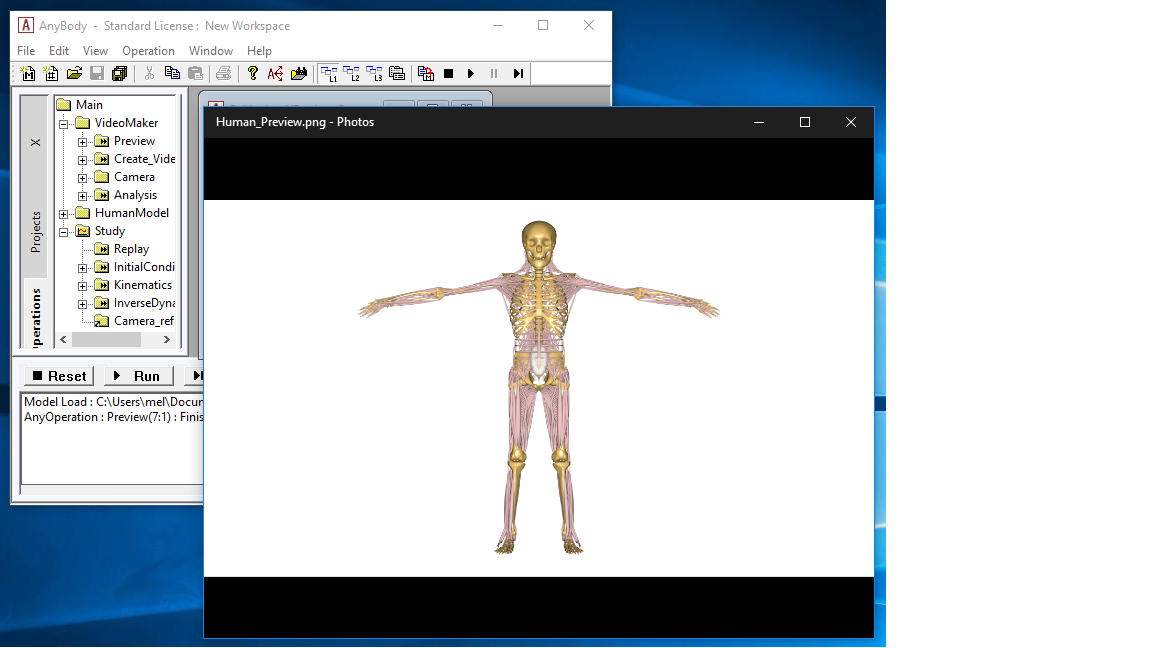
Once you are satisfied with the camera settings you are ready create a full video.
Creating the video
To create a video simply select and run the Create_Video operation. That will
run the model, collect the frames, convert them to a video and finally play the
video.
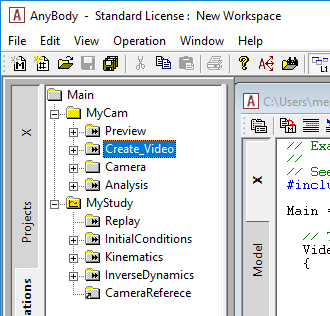
The video will by default be saved together with the main file of the model. This can of course be customized as well.
Find the code on GitHub
The AnyScript template is hosted on GitHub,
where you can also find a few examples that shows how it works. As well as documentation on the
class_template and the options which are available.

Leave a comment