
Creating a Human Model from Scratch#
The following tutorial teaches you how to construct an AnyBody model by using the AMMR, when starting with a blank AnyScript file. When you work with more complex models, you will realize the given code structure is actually quite universal.
For at more thorough tutorial on how to write AnyScript, refer to this tutorial.
STEP 1
Open a new AnyScript file (Ctrl + I) and type in the Main declaration shown
below. This file now becomes the main model file, and all its contents (e.g,
model objects, simulation objects) should be typed between the two curly braces.
Main =
{

};
STEP 2
Link a libdef.any file to specify the AMMR directories that you wish to import
the human model from. If instructions for installing the Demo AMMR in the
previous chapter were exactly followed, the file path
typed below should work. Otherwise, make the necessary changes.
#include "<ANYBODY_PATH_INSTALLDIR>/AMMR/libdef.any"

Main =
{

};
STEP 3
In the Main folder, create an empty Model folder to hold your model
components, and an AnyBodyStudy object named Study, which can run Kinematics
and Inverse Dynamics simulations on your model.
#include "<ANYBODY_PATH_INSTALLDIR>/AMMR/libdef.any"

Main =
{
    AnyFolder Model =
    {

    };


    AnyBodyStudy Study =
    {
        Gravity = {0,-9.81,1}; // Gravity Vector
        tStart = 0; // Start time
        tEnd = 1; // End time
        nStep = 10; /Number of steps
    };
};
STEP 4
The next statement will create a reference to the Model folder within Study,
thus instructing the simulation to only consider objects in the Model folder
(i.e. segments, forces, motion drivers etc.).
#include "<ANYBODY_PATH_INSTALLDIR>/AMMR/libdef.any"

Main =
{
    AnyFolder Model =
    {

    };


    AnyBodyStudy Study =
    {
        AnyFolder &ModelForSim = .Model; // '&' creates a local reference to existing folder
        Gravity = {0,-9.81,1}; // Gravity Vector
        tStart = 0; // Start time
        tEnd = 1; // End time
    };
};
Note
You can create any number of such references. It allows mixing and
matching of model components in simulations. For example, if three separate
AnyFolder objects contained models of a human, chair and bicycle, we could
create two AnyBodyStudy objects - one with references to human & chair and
the other simulating human & bicycle.
STEP 5
The AMMR contains multiple musculoskeletal models (e.g., human, cow, rat etc.).
Type the following statement to import the human body model from AMMR. The file path
<ANYBODY_PATH_BODY> is defined in libdef.any - Have a look in there.
#include "<ANYBODY_PATH_INSTALLDIR>/AMMR/libdef.any"

Main =
{
    #include "<ANYBODY_PATH_BODY>/HumanModel.any"

    AnyFolder Model =
    {

    };


    AnyBodyStudy Study =
    {
        AnyFolder &ModelForSim = .Model; // '&' creates a local reference to existing folder
        Gravity = {0,-9.81,1}; // Gravity Vector
        tStart = 0; // Start time
        tEnd = 1; // End time
    };
};
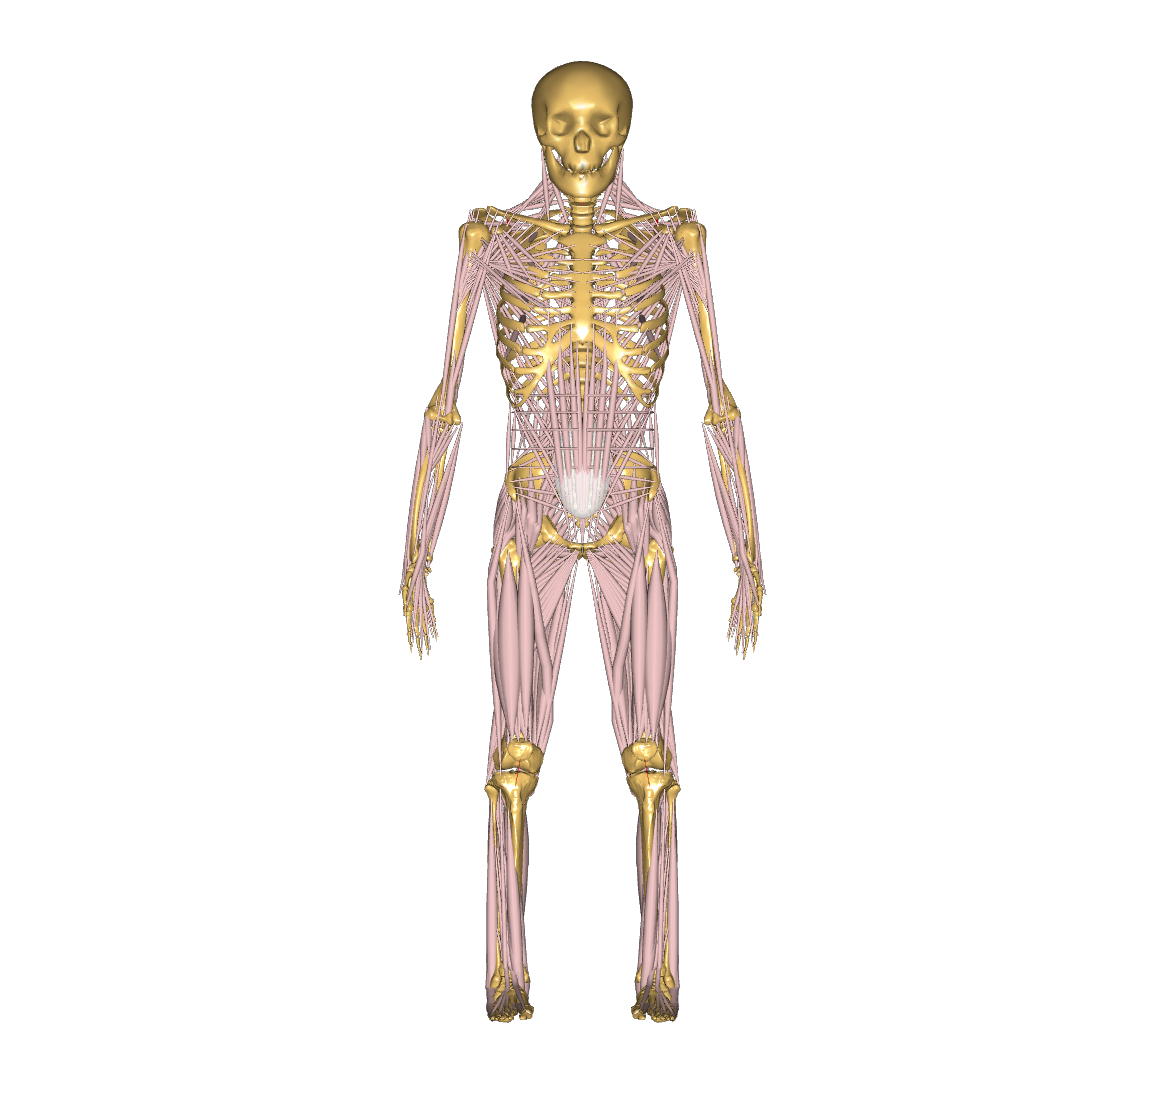
When loading the model, you will now see the Human Model in the Model View.
STEP 6
Create a reference to the human body model inside Model so that it is
considered a part of the simulations in Study.
#include "<ANYBODY_PATH_INSTALLDIR>/AMMR/libdef.any"

Main =
{
    #include "<ANYBODY_PATH_BODY>/HumanModel.any"

    AnyFolder Model =
    {
        AnyFolder &Human = .HumanModel.BodyModel;
    };


    AnyBodyStudy Study =
    {
        AnyFolder &ModelForSim = .Model; // '&' creates a local reference to existing folder
        Gravity = {0,-9.81,1}; // Gravity Vector
        tStart = 0; // Start time
        tEnd = 1; // End time
    };
};
STEP 7
First add the lines of code highlighted in red below. An explanation follows.
#include "<ANYBODY_PATH_INSTALLDIR>/AMMR/libdef.any"

Main =
{
    #include "<ANYBODY_PATH_BODY>/HumanModel.any"

    AnyFolder Model =
    {
        AnyFolder &Human = .HumanModel.BodyModel;
        AnyFolder &MotionDrivers = .HumanModel.DefaultMannequinDrivers;
    };


    AnyBodyStudy Study =
    {
        AnyFolder &ModelForSim = .Model; // '&' creates a local reference to existing folder
        Gravity = {0,-9.81,1}; // Gravity Vector
        tStart = 0; // Start time
        tEnd = 1; // End time

        InitialConditions.SolverType = KinSolOverDeterminate;
        Kinematics.SolverType = KinSolOverDeterminate;
    };
};
While the previous step included the human body model in Model, a key piece of
machinery was still missing - Motion constraints. Here the default mannequin
drivers are inserted (AnyFolder &MotionDrivers). While motion prescription is
elaborated on in
the making things move tutorial,
a basic AnyBody requirement is that the number of motion constraints (called
motion drivers in AnyBody) must at least equal the number of DOFs of the model.
The total number of DOFs & motion constraints can be found by double clicking
the Study object in the Model tree. This opens the Object Description which
will show 432 DOFs and also a total of 432 constraints. This equality is only optained
because the DefaultMannequinDrivers is included, which provides 42 default soft drivers,
which set joint angle values that hold the body in a default standing posture
(see this
tutorial which introduces soft constraints).
If you try to load the model without the default drivers, you would get a warning, saying
that the study contains too few kinematic constraints to be kinematically determinate.
These DefaultMannequinDrivers are included in the Model.
Due to the inclusion of soft drivers, solver settings need to be readjusted.
The lines InitialConditions.SolverType and Kinematics.SolverType defines
that a kinematic overdeterminate solver is used. You can now gradually add more
complex hard drivers (e.g, to constrain feet to ground, maintain balance etc.)
to your model, which automatically over-ride the constraints enforced by soft
drivers. The alternative would have been to create all 42 constraints manually
before the simulation could even be tested - a debugging nightmare in the
making!
STEP 8
Add the highlighted code to create generalized reaction forces at the pelvis, which support the model’s weight.
It consists of 6 generalized forces applied to the human model by the Ground
frame and is composed of 3 linear forces and 3 moments. The reaction forces is
constructed by an AnyReacForce class containing references to the kinematic
measures of the Pelvis w.r.t ground. (see this
tutorial on kinematic measures)
#include "<ANYBODY_PATH_INSTALLDIR>/AMMR/libdef.any"

Main =
{
    #include "<ANYBODY_PATH_BODY>/HumanModel.any"

    AnyFolder Model =
    {
        AnyFolder &Human = .HumanModel.BodyModel;
        AnyFolder &MotionDrivers = .HumanModel.DefaultMannequinDrivers;

        AnyReacForce HumanGroundResiduals =
        {
            AnyKinMeasure& PelvisPosX = .Human.Interface.Trunk.PelvisPosX;
            AnyKinMeasure& PelvisPosY = .Human.Interface.Trunk.PelvisPosY;
            AnyKinMeasure& PelvisPosZ = .Human.Interface.Trunk.PelvisPosZ;
            AnyKinMeasure& PelvisRotX = .Human.Interface.Trunk.PelvisRotX;
            AnyKinMeasure& PelvisRotY = .Human.Interface.Trunk.PelvisRotY;
            AnyKinMeasure& PelvisRotZ = .Human.Interface.Trunk.PelvisRotZ;
        };
    };


    AnyBodyStudy Study =
    {
        AnyFolder &ModelForSim = .Model; // '&' creates a local reference to existing folder
        Gravity = {0,-9.81,1}; // Gravity Vector
        tStart = 0; // Start time
        tEnd = 1; // End time

        InitialConditions.SolverType = KinSolOverDeterminate;
        Kinematics.SolverType = KinSolOverDeterminate;
    };
};
STEP 9
Congratulations! You have now created a human model from scratch using the AMMR.
You can now load the model and run the InverseDynamics analysis contained
within Study. Refer to this tutorial
on how to view and plot the simulation outputs.
We encourage you to experiment further by adding more complex model components such as motion drivers, external forces etc. to the current model. Refer to these tutorials to understand these features better.